
Unlike a home’s plumbing system, RV plumbing lives in motion. Every mile of bumpy highway shakes fittings, loosens seals, and stresses joints that weren’t designed for constant vibration. Over time, this movement can cause small leaks that go unnoticed until they’ve already caused water damage behind walls or under cabinets. Even something as simple as parking on uneven ground can tilt tanks and strain connections, creating slow drips or air pockets in your lines.
Temperature swings are another silent culprit. When the weather turns cold, any water left in the pipes can freeze, expand, and crack fittings or valves. Conversely, extreme heat can dry out rubber seals, making them brittle and more likely to leak. Many RV owners forget that constant exposure to the elements — UV rays, humidity, and fluctuating temperatures — slowly wears down plastic components and flexible hoses, eventually leading to splits and leaks.
Water quality also plays a big role in long-term plumbing damage. Hard water, rich in minerals like calcium and magnesium, can leave scale deposits inside your water lines, heater, and faucets. These deposits reduce water flow, strain the pump, and shorten the life of your fixtures. Add in the occasional use of harsh cleaning chemicals or incompatible sealants, and you’ve got a recipe for weakened plumbing over time. Regular maintenance, gentle cleaning, and seasonal inspections are the best defenses against this slow, sneaky kind of wear and tear.
Water quality also plays a big role in long-term plumbing damage. Hard water, rich in minerals like calcium and magnesium, can leave scale deposits inside your water lines, heater, and faucets. These deposits reduce water flow, strain the pump, and shorten the life of your fixtures. Add in the occasional use of harsh cleaning chemicals or incompatible sealants, and you’ve got a recipe for weakened plumbing over time. Regular maintenance, gentle cleaning, and seasonal inspections are the best defenses against this slow, sneaky kind of wear and tear.
10 Common RV Plumbing Problems (and How to Fix Them Yourself)
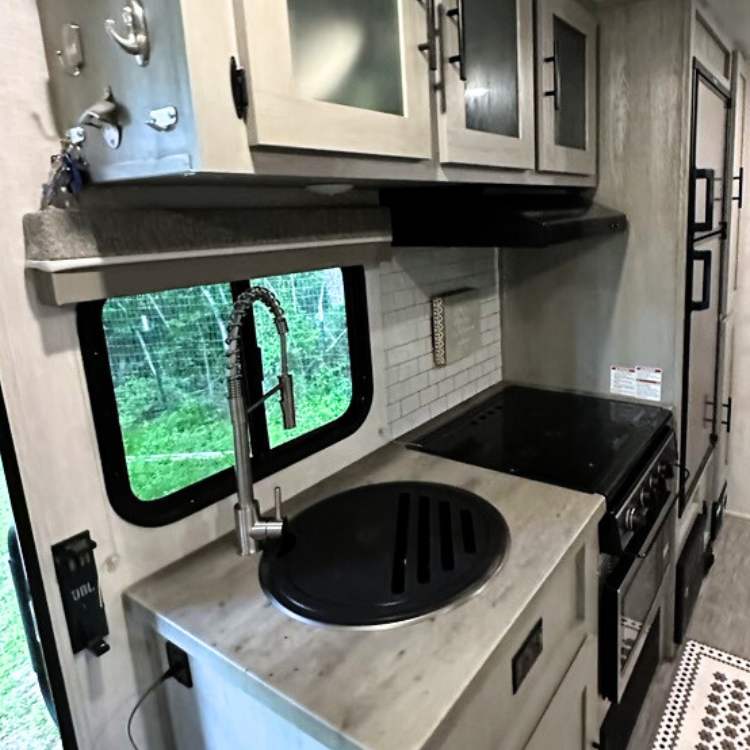
1. Leaky RV Faucets and Connections
Constant road movement can loosen fittings and fixtures, leading to annoying drips that waste water and cause hidden damage.
DIY Fix: Check under sinks, around toilets, and near showerheads for leaks. Tighten loose fittings with a wrench, and replace worn-out washers or O-rings.
2. RV Water Pump Failure or Rapid Cycling
Your water pump maintains pressure when you’re not connected to city water. If it won’t start or keeps turning on and off, you could have an electrical issue or a hidden leak.
DIY Fix: For a dead pump, inspect the fuse or circuit breaker. If it cycles rapidly, check all plumbing connections for leaks and bleed air from the system.
3. Clogged Drains
RV drains are smaller than household ones and easily clogged by grease, hair, and food particles. Harsh drain cleaners can damage RV plumbing.
DIY Fix: Use drain screens to catch debris. For minor clogs, pour hot water and dish soap down the drain. For tougher clogs, use a drain snake instead of chemicals.
4. Low Water Pressure
Weak water flow can stem from campground water sources or your RV’s internal plumbing.
DIY Fix: Always use a water pressure regulator when connecting to city water. Clean any clogged faucet aerators or filters in your system.
5. Toilet Clogs
Using regular toilet paper or too little water can create a “pyramid plug” inside your black tank.
DIY Fix: Break up clogs with a toilet wand or pour hot water and an RV-safe enzyme treatment into the bowl. Always use RV-safe toilet paper and flush with plenty of water.
6. Tank Sensor Failure
If your tank sensors give false readings, residue buildup is likely the culprit.
DIY Fix: Use quality tank treatments and flush your tanks regularly — especially the black tank. A tank-flushing wand helps remove stubborn residue.
7. Sewage Tank Odors
Smelly odors in your RV can come from vent blockages, bad seals, or leaving the black tank valve open too long.
DIY Fix: Inspect the vent pipe for obstructions and check the toilet seal for cracks. Keep the black tank valve closed until it’s at least two-thirds full to allow proper drainage.
8. Frozen Pipes
If you travel in cold weather, any water left in the lines can freeze, expand, and burst your pipes.
DIY Fix: Winterize your RV by draining the water system completely and adding RV-safe antifreeze. Never skip this step before storing your RV for the season.
9. Leaking Toilet Seals
A toilet seal that doesn’t hold water leads to odors and small leaks.
DIY Fix: Inspect the seal for cracks or dirt. Use a lubricant to condition it or replace the seal if it’s worn. Most RV toilet seals are easy to swap out with basic tools.
10. Water Heater Problems
If your water isn’t getting hot, sediment buildup or a bad heating element might be to blame.
DIY Fix: Flush the water heater once a year to remove sediment. If there’s still no hot water, check the heating element (electric) or burner and propane supply (gas).
Try Simple Fixes Before Calling the Pros
Most RV plumbing problems start small — a loose fitting, a minor clog, or a worn seal. Many of these can be handled with a quick DIY fix if you catch them early. Taking the time to inspect your system regularly helps prevent big headaches down the road.
But if you’ve tried the basics and still can’t get things working right, it might be time to call in the experts. Rick’s Mobile RV Repair Service, based in Conroe, TX, provides professional, on-site repairs for all types of RV plumbing issues. Whether you’re dealing with a stubborn leak, water heater failure, or frozen lines, Rick’s team can come directly to you — saving you the hassle of towing your RV into a shop.
Keep your adventures rolling smoothly by knowing when to tackle a simple fix and when to call the professionals who know RV plumbing inside and out.
Protect your investment — call Ricks RV Repairs today at 832-642-5237